
The joint dyer - application, tips and tricks
Give your joints a new shine with the original joint dye
Who doesn't know it: the joints in the bathroom or the kitchen, the hallway or the living room are a bit old and somehow everything looked completely different when freshly laid.
Due to incorrect or insufficient cleaning, we tend to neglect the joints in our tiled floors or walls. The main focus is usually on the tiles. These must always shine beautifully and be free of blemishes. But the joints and their care are often forgotten and one day you realize: the color no longer matches the original and it no longer matches the tiles.
What to do if the joints no longer have the desired color?
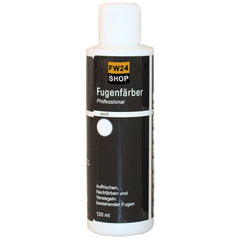
The joint dyer from fliesenwerkzeug24 offers a simple but effective solution.
In just a few steps you can easily color your grout lines yourself at home. The result will delight you. You don't need a lot of equipment or previous technical knowledge. Follow our tips and your joints will soon shine in new splendor.
The easy application of the joint dyer:
First test the joint dyer on an inconspicuous area of the joints and wait at least 24 hours. If the desired result occurs, you can treat the entire area.
- Clean your joints and remove dust and coarse dirt. They should be clean and dry for the grout dye treatment.
- Have the necessary utensils such as disposable gloves , brushes (or brush bottle ) and a cleaning sponge with a little water ready.
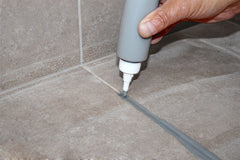
- Start coloring the joints by applying the color generously into the joints using the brush. The grout dye only bonds to the grout, not to the tiles. So you don't have to remove excess paint immediately.
- Allow the paint to dry according to the package instructions. After just a short time, the final color of the joints becomes apparent.
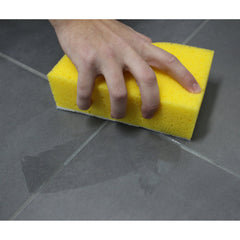
- Remove excess paint from the tiles with a little water and the cleaning sponge.
- You can now re-enter the tiles. However, wait at least 48 hours before treating the surface with cleaning products.
Your joints are now freshly colored and impregnated at the same time. The joint dyer now protects your joints from discoloration for several years and against new dirt for a long time.
The joint dye colors
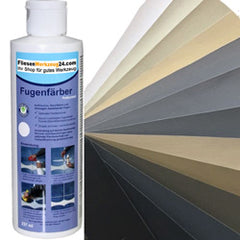
The joint dye is available in many beautiful and matching colors. Choose your desired color from 13 variants .